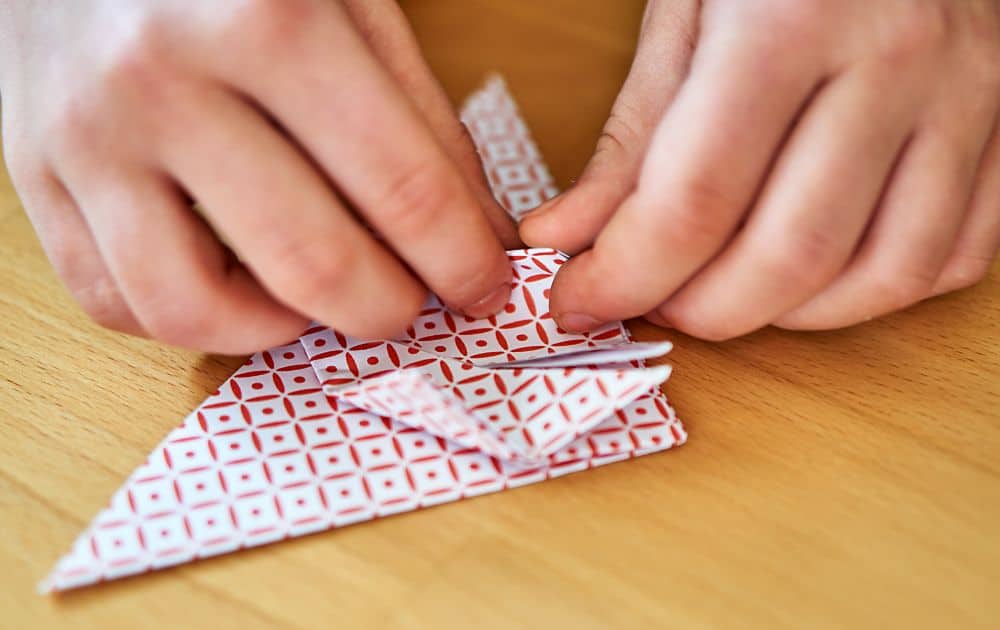
Christmas decor trends evolve each year, with new themes and styles emerging.
Despite the constant changes, origami Christmas stars have become a perennial favorite in holiday decorations. Their enduring popularity can be attributed to their simplicity and ease of creation.
In a landscape where trends can be elaborate or intricate, origami stars offer a refreshing contrast with their uncomplicated yet elegant design.
Origami star decorations can be a super simple yet effective way to decorate your home for sustainable Christmas. But they can also have a deeper meaning, with many viewing origami lucky stars as a symbol of love, luck, and festivity.
But what is an origami star?
Is it a five pointed star? A 3D star? Or is it combined with other paper stars for a layered effect?
An origami star can be all of these—there is on one real traditional origami star design, though the five pointed star seems to be the most popular.
Put plainly, an origami star is a simply decorative star created through the Japanese art of paper folding (origami). It is typically made by folding a square sheet of paper into a symmetrical design that resembles a star.
This makes them perfect for DIY Christmas decorations—or whatever holiday you celebrate, since stars are far from Christmas exclusive.
Not only are origami star Christmas decorations easy to make, but they’re also a great way to repurpose old Christmas cards or cutoffs and scraps of wrapping paper that would otherwise end up in the bin.
With this simple tutorial on how to make an origami star of your own, you’ll be hanging star garlands and hanging paper stars on your sustainable Christmas tree in no time.
Our Curated List For Origami Stars (And How To Make Them)
1. How Do You Make Stars With Paper?

Five pointed origami stars are a simple and enjoyable craft, perfect for adding a handmade touch to Christmas decorations.
As already mentioned—they’re incredibly easy to make. This means they’re an accessible craft for all skill levels.
Making origami Christmas decorations in any form is easy. All you need is a selection of square paper pieces to fold and to know how to fold them (in this case, into stars).
We recommend taking a look at this tutorial for a visual tutorial guide on how to create five pointed origami stars, but you can also follow our step-by-step tutorial.
2. How To Make Origami Stars: Step-By-Step

Start by gathering all the materials needed to make paper stars:
- Square sheets of origami paper (you can also use colored or patterned paper – or scrap wrapping paper for an eco-friendly alternative)
- Scissors (to cut the paper into squares)
- Glue (optional, for added stability)
There’s actually a hidden step before you even start folding.
The very first thing you need to do is start collecting newspapers, saving your Christmas cards, or storing up any pieces of paper you find interesting you want to turn into origami star paper strips.
We particularly love old sheet music from charity shops. It’s a fantastic way to recycle old paper and add a touch of personality, and it’s often somewhat stiff, meaning it can make nicely pointed origami stars that hold their shape well
Step 1: Choose Your Paper
Start by selecting square sheets of paper from your stash. Try to choose colors and patterns that make for a nice Christmas design.
You can use a variety of sizes, but keep in mind your final star will be about 60% of the size of the original paper strip. The larger the square piece of paper you start with, the easier the folding.
Cut up gift wrap, scrapbook paper, into paper strips and then cut those strips into squares of equal size. While the paper size doesn’t matter as long as you can cut it down into a square, we recommend that you don’t go too small to begin with
Once you’ve mastered the technique and managed a finished star, you can think about sizing down and making cute origami stars in miniature sizes.
Step 2: Diagonal Fold
Smooth the paper flat onto your work surface, then fold it paper diagonally from the top left corner to the opposite corner, creating a triangle. Crease the fold well and unfold.
Step 3: Diagonal Fold In The Other Direction
Fold the paper diagonally in the opposite direction, from the other corner to its opposite, forming an ‘X’ on the paper. Crease the fold well and unfold.
Step 4: Fold in Half Horizontally & Vertically
Fold the paper in half horizontally and then vertically, creating a smaller square in the center. Crease well and unfold.
Step 5: Collapse Into A Square Base
Bring the corners of the paper together, collapsing it along the existing creases to form a square base. Press down to flatten.
Step 6: Form The Star
You’ll be forming a pentagon shape here, so fold one corner of the square base towards the center. Repeat this for all four corners, forming a smaller square in the center.
Fold each corner of the smaller square towards the center, creating a kite-like shape.
Carefully collapse the paper along the existing creases, bringing the corners towards the center to form the pentagon shape.
Step 7: Adjust & Flatten
Adjust the folds as needed, ensuring symmetry, and press down to flatten the paper.
Step 8: Glue For Stability (Optional)
If desired, you can apply a small amount of glue to the flaps before folding them towards the center for added stability.
Now you have a charming five pointed origami star!
Your finished star is just the starting point for your sustainable Christmas decorations. Experiment with different sizes and colors, punch holes in all the corners and hang ribbons from the points, or string them together in a garland.
You could even attach paper strips, ribbons, or string tassels to your stars to make them look like shooting stars, or make little star varieties and hang them from larger ones for a cute ceiling decoration.
Experiment with different colors and sizes to create a festive array of stars for your holiday decorations.
3. What Is The Lore Of Origami Stars?

Learning to make an origami star is more than just a fun craft. As with many origami shapes, there are meanings and symbolism attached to them.
So what does it mean when someone gives you origami stars?
Well, interestingly enough, there are a few meanings behind this, as it can vary depending on the context and the relationship between the giver and the recipient.
Here are three of the most common interpretations:
- Symbol Of Well-Wishes: In many cultures, origami lucky stars can be seen as symbols of good luck, well-wishes, and positive energy.
- To Wish Good Luck: Some believe the five-pointed origami star is meant to bring good fortune into your life. That’s why they’re often called origami lucky stars.
- A Festive Or Decorative Gesture: Depending on the occasion, receiving an origami lucky star could be a part of festive decorations or celebrations.
So, receiving an origami lucky star is more than just a cute, folded piece of colored paper.
It can be interpreted as a heartfelt gesture, which is particularly fitting for the holiday season!
Final Thoughts On Origami Star Decorations
Ready to learn how to make paper stars this Christmas?
Since the origami star embodies symbols of heartfelt meaning and well wishes, this makes it the eprfect piece of holiday decor. Their charm lies in the simplicity of folding paper into these cute stars, bringing a personal touch to your holiday celebrations.
Count your (origami) lucky stars because making them isn’t just fun, but also super easy, making it a perfect activity for everyone to get involved.
And the best part?
It’s budget-friendly, as all you need is some origami paper, scrap paper, or even simple printer paper if you’re going with a white minimalist theme.
So, add a touch of handmade magic to your Christmas with these delightful and affordable decorations.
Then don’t forget to bring your friends into the fold of easy and fun crafts by sharing this article.


