The renowned eco-activist Dr Vandana Shiva believes that “as earth citizens we have a duty to grow what we can”.
Not all of us have the luxury of a garden or the know-how to grow vegetables the traditional way but Shiva suggests that shouldn’t stop us; “even if we live in an apartment building and there is only one window sill. Adopt one plant, adopt one seed and grow it.”
Here at pebble we love the potential that urban gardening has and are inspired to grow food indoors.
Urban gardens and urban gardeners are full of creative solutions to domestic and communal agriculture (which sits outside of most of the problems of industrial agriculture), and proves that people can grow their own produce no matter where they live.
In this article, pebble’s expert team explore the world of indoor urban gardening first hand, detailing the methods, difficulties and positives of growing food indoors.
Why grow food indoors and at home is the future
Currently, in the UK, 1 in 8 households do not have access to a garden and by 2050, two thirds of the global population will live in urban areas, so urban gardening provides a great solution to food security no matter your access level.
Gardening at home provides multiple health benefits as well as a great contribution to individual wellbeing.
And you don’t need a garden.
Here are our favorite ways to grow herbs and veg indoors – no matter how small your space.
Our Guide: Grow Food Indoors
- Equipment checklist for growing indoors
- How to grow broccoli microgreens indoors
- How to grow radish microgreens indoors
- How to grow basil indoors
- How to grow tomatoes indoors
- How to grow chives indoors
- How to grow sprouts at home
- How smart gardens can grow plants indoors
- Next level: invest in a fully automated greenhouse to grow food indoors
1. Equipment checklist for growing indoors

For most indoor gardening and growing, you will need:
- Water
- Appropriate sunlight/LED growing light
- Starting trays (can be plastic containers, egg cartons or even toilet rolls)
- Appropriate soil/growing medium/peat free compost
- Large pot or container
- Plant stakes and string
2. How to grow broccoli microgreens indoors
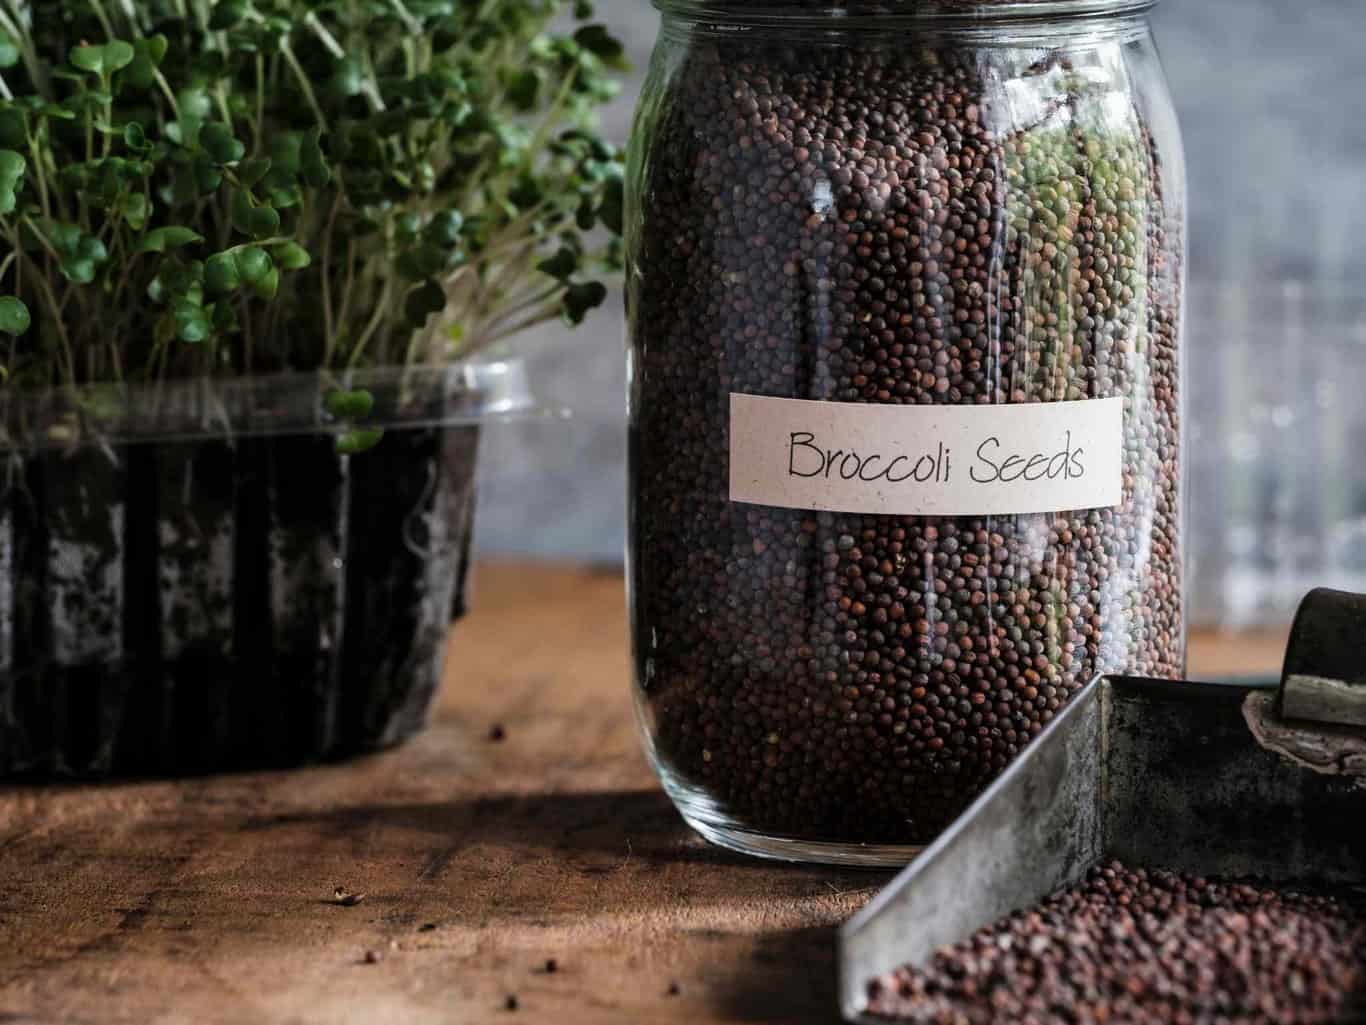
Broccoli microgreens provide high amounts of vitamin C, magnesium, copper and zinc – packing in a higher quantity of nutrients than a head of broccoli!
Growing broccoli at home requires:
- Seed trays/containers
- Growing medium/soil with water absorption
- Recommended to use – coconut coir due to its ability to retain moisture and added nutrients
- Placed in a well ventilated area.
1. Plant the seeds
Fill your seed container with the growing soil, water it and then press it down evenly.
Sprinkle the seeds evenly across the surface of the soil and lightly water again.
2. Apply weight
This can be done by applying another container on top and adding weight – allowing the roots to develop properly.
3. Remove weight
Uncover the broccoli and water every other day.
4. Harvest
After 8-10 days of germination, the plant should be ready to harvest. To harvest, cut the top 2 inches of the plant.
3. How to grow radish microgreens indoors

Radish microgreens are one of the easiest microgreens to get growing. Packed with vitamins A, B, C, E, and K, as well as calcium, iron, magnesium, phosphorus, potassium and zinc, they are a nutrient powerhouse!
Growing radish microgreens indoors requires:
- Seed trays/containers
- Growing medium/soil with water absorption
- Recommended to use – a coconut coir
- A well ventilated area
Water every couple of days once germinated.
1. Plant the seeds
Fill your seed container with the growing soil, water it and then press it down evenly.
Sprinkle the seeds evenly across the surface of the soil, leaving some gaps between groups.
2. Cover the seeds
Lightly cover the seeds with growing soil/compost, flatten the surface gently and lightly water. They will germinate after 2 days.
3. Harvest
Harvest after 6 days, or when they are 3 inches tall. To harvest, cut the top 2 inches of the plant.
4. How to grow basil indoors

Fresh basil is one of the easiest herbs to grow and basil is packed with iron, calcium, magnesium, and vitamins C and B6.
Growing basil indoors requires:
- Seed trays/containers
- Growing medium/soil with water absorption
To grow basil indoors, ideally you need 6 hours of sunlight, needing at least 10 for healthy growth.
The soil needs adequate drainage and soil should be kept moist.
Basil leaves can be dried for a longer lifespan. See below for how to dry them.
1. Plant the seeds
Pack fresh and lightly moist potting mix firmly into container, sprinkle seeds onto and lightly cover with soil – gently pressing down as compact soil will affect the growth.
2. Create the right environment
Place it in a warm window. Rotate the plant to ensure even growth and keep the soil moist.
3. Harvest
After a month, the basil should be fully grown. Harvest by cutting off leaves as needed.
How to dry fresh basil
1. To dry the basil, like any herb, bundle the harvested herb (roughly 3-4 stems) and tie them together with twine.
2. Hang the herbs upside down in a cool and dry space.
3. You can use brown paper to cover the herbs, protecting them from dust, sunlight, and moisture – keeping a consistent environment.
4. After 1-2 weeks, the herbs should be dry enough that they crumble, showing they are ready to be stored.
5. How to grow tomatoes indoors

For indoor tomato growing, it is best to use ‘determinate’ varieties of tomatoes as they are more compact as they do not vine.
Requires 6 hours of direct sunlight, needing a relatively warm climate, watering every couple of days, and rotate to ensure even sunlight.
The parts of the tomato plant that can be eaten beyond the fruit are the leaves of the plant itself (rather than the fibrous leaves on the fruit).
1. Plant the seeds
Plant seeds ¼ inch deep in a layer of soilless planting mix in the starting tray, keeping them in a consistent warm place – no need to worry about light.
2. Repot
After a month, repot the tomato plant and place them into sunlight.
Be careful to not damage any roots when moving, and plant them so around 1-2 inches of the stems are covered – as tomatoes grow additional roots from the stem.
Water when the soil goes dry, and it is recommended to fertilise them every couple of weeks. Place stakes if and when needed.
3. Harvest
Harvest the tomatoes before they ripen, this prevents pests and maintains quality.
Ideally they should be harvested with the top quarter still green, as they will then ripen in the next few days.
6. How to grow chives indoors
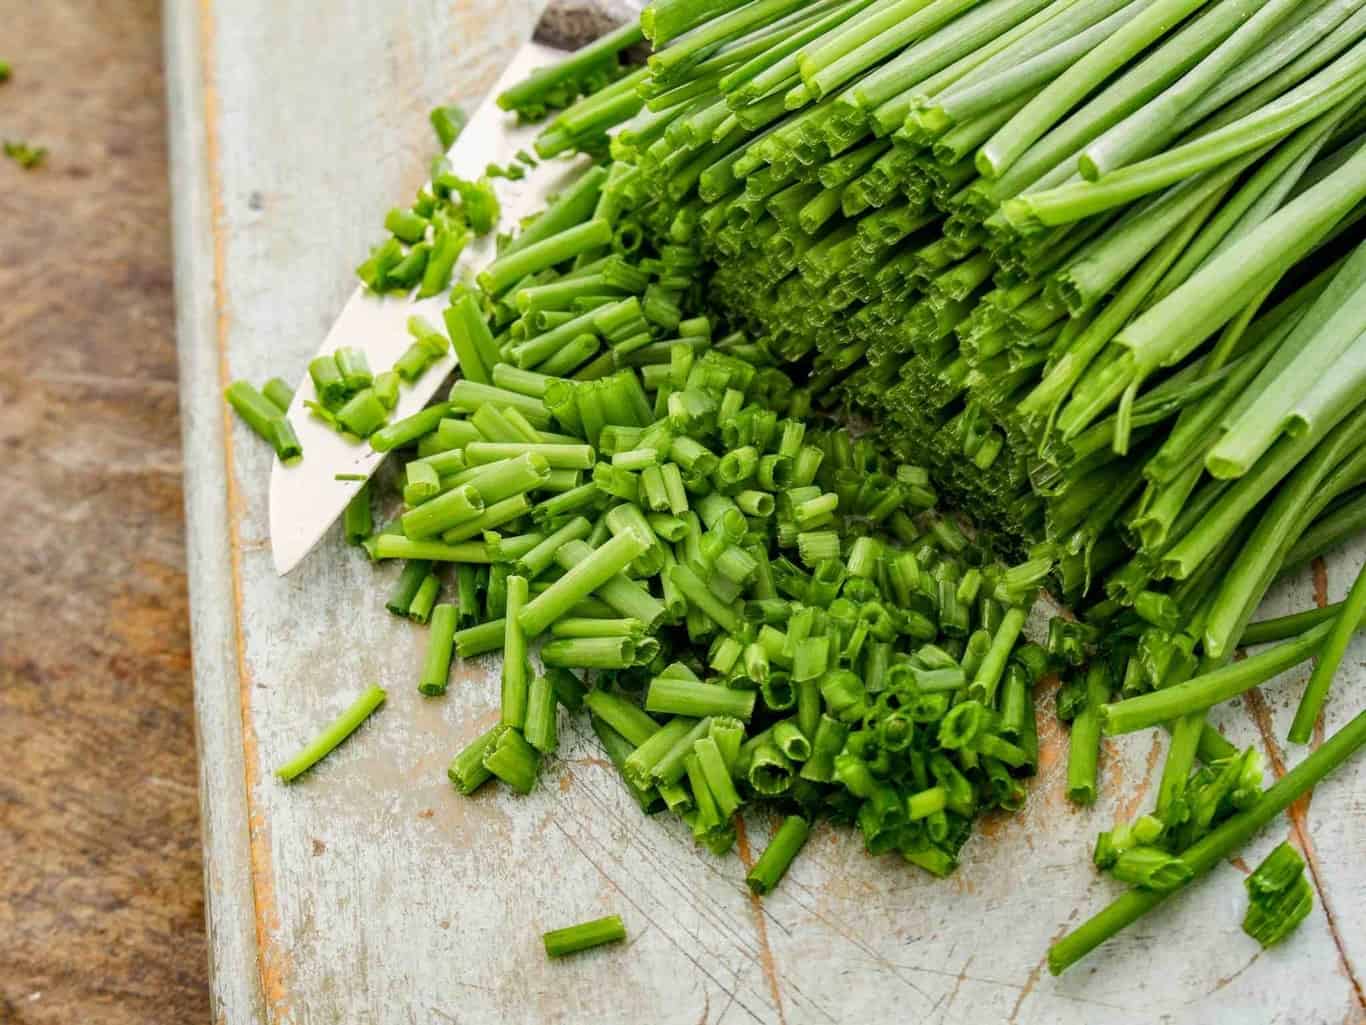
Chives are incredibly easy to grow and provide a lot of vitamin C, B6 in addition to magnesium, iron and calcium.
Requires fertile, well-drained soil (ideally compost) that is kept moist – so water frequently
At least 6 hours of sunshine and to be kept at 20-25 degrees Celsius while germinating.
The stem and flowers are both edible, although the flowers are a lot more palatable.
1. Plant the seeds
Lightly press the compost down, water and sprinkle the seeds onto the growing medium.
Cover lightly with more compost and cover to retain moisture and warmth.
2. Uncover
After a week, uncover the chives as they begin to germinate.
3. Harvest
Harvest once 6 inches high, leaving an inch remaining for regrowth.
The next three sections were written by Sophia Cheng. Sophia is is a sustainably-focused writer and communicator who specializes in social and environmental storytelling. She aims to practice what she preaches and hopes her words motivate people into action. Find more of her work at With Many Roots.
7. How to grow sprouts at home

For those with the smallest of spaces and the least patience sprouting seeds are a great option.
Even the least green-fingered among us can grow sprouts, they’re incredibly nutritious to eat.
The germination of the seed kickstarts the energetic growing process, proteins are broken down into amino acids and a sprouted seed is a raw food that is packed with vitamin B & C, as well as veg protein, iron and antioxidants.
You can grow all manner of sprouts indoors from the mung bean (known commonly as bean sprouts) to pea and radish.
You will need an old glass jar, cheesecloth and elastic band.
The key part is to make sure you’re using beans specifically for sprouting.
1. After soaking the seeds overnight, the process is as simple as rinsing them once in the morning, once in the evening and leaving the jar upturned in the meantime so that excess liquid drains out.
2. After three days (or less depending on the seed) your sprouts are ready.
Fresher and crunchier than you’ll find in any shop. Best eaten raw, they make great toppings for stir-frys, soups, salads or as a snack on a cracker and stay fresh in the fridge for up to a week.
Dedicated sprouting products are available to buy such as a sprouter kit like this one. Treehugger also has good instructions for a DIY grow your own sprouts jar.
I was inspired by Vandana Shiva’s words but limited by time and space as a digital nomad, so I decided to grow my own sprouts for the first time. And I was surprised at just how easy they are to grow, here’s my photo diary for proof.
Once I’d made it part of my daily routine I was growing mung beans continuously in a dedicated sprouting jar I’d found at a local vegan fair and timing stir-fry night with harvesting.
8. How smart gardens can grow plants indoors

“You simply drop in the plant pods, add water and turn on the light – that’s it”
The Smart Garden takes the coffee capsule idea but for plants – this might just be the easiest way to grow your own veg!
Estonian entrepreneur, Mattias Lepp, was inspired by NASA soil technology and wanted to challenge the way we grow food here on Earth. After years of trial and error, a very successful Kickstarter campaign and further iterations, The Smart Garden was launched in 2018.
You simply drop in the plant pods, add water and turn on the light – that’s it.
The Smart Soil releases the nutrients as the plant grows and in one to two weeks the pods start sprouting under LED energy efficient lights. Most plants take two to three months to grow, although some take six. No seeds are wasted and there’s no nasty substances used.
The Smart Garden comes in two sizes, so you can grow three or nine plants simultaneously.
With more than 30 plant pods, you can grow your own pak choi, sweet peppers and kale as well as herbs and salad leaves. Click & Grow now offer a plant pod subscription service so you’ll never be without fresh herbs too. Perhaps more importantly is a supportive community of ‘Click and Growers’ so you can learn and share experiences.
Jane from Somerset is trialling her Smart Garden, “I’ve always thought about growing my own food but never felt confident enough. It was so simple to set up, After five days my basil and mini tomatoes have just sprouted!”
And if you’re feeling confident when the plant has reached its life cycle in the pod you can transfer it into real soil to continue its growth.
One million pods were planted last year and with a recent $11 million investment from a variety of funders, including Ikea, I expect hyper-localized hassle-free gardening to become much more common.
9. Next level: invest in a fully automated greenhouse to grow food indoors

Taking home-based hydroponics to the next level is a brand new product, Natufia.
Another Estonian startup that launched last year, this stylish indoor garden is similar sized to an average home refrigerator and can grow 32-64 plants for a continuous supply of organic traceable food all year round. You can select from a wide range of seeds or even use your own.
The seeds first visit the nursery drawer before being transferred to one of the ceramic cups. A fully automated system means the growth conditions are controlled by smart sensors for temperature, nutrients, humidity and even the pH levels of water. Water cascades down through each ceramic cup so all you need to do is watch and wait. Music is even played to the plants to keep them relaxed.
Co-founder Lauri Kapp was frustrated by the mass food industry and a deeper sense that as we become more urban as a species we are losing our connection to food growing.
He sought an automated solution: “So many people living in cities, these people don’t have the luxury of growing their own food, either they don’t have the space,time or the skills, so we figured that our technology could resolve that.
With a price tag of £10,000 this indoor garden doesn’t come cheap. But it’s worth noting that it was originally created for chefs of high-end restaurants that also works for the high-end consumer. Natufia are confident however that it earns itself back in less than three years. When you consider the space you’d need to grow up to 64 leafy vegetables in urban environments with the simplicity, it may well be a worthwhile investment.”
As the debate over agricultural land use rages on, it is encouraging to know that at a consumer level, vertical farming and home hydroponics are becoming more mainstream and affordable.
Grow Food Indoors: Closing Thoughts
What would the ripple effect be on our wider environment if we all truly appreciated nature’s ability to provide for us and grew our own food in our own homes?
It’s becoming so easy that organic leaves and vegetables with zero waste and zero mileage may soon be in every home and apartment!
Why don’t you join the growing party and give these veg and herbs a g(r)o.
Or if you love growing why not try a growing kit, try growing these veg from scraps or have a read of one of our many other growing guides.


