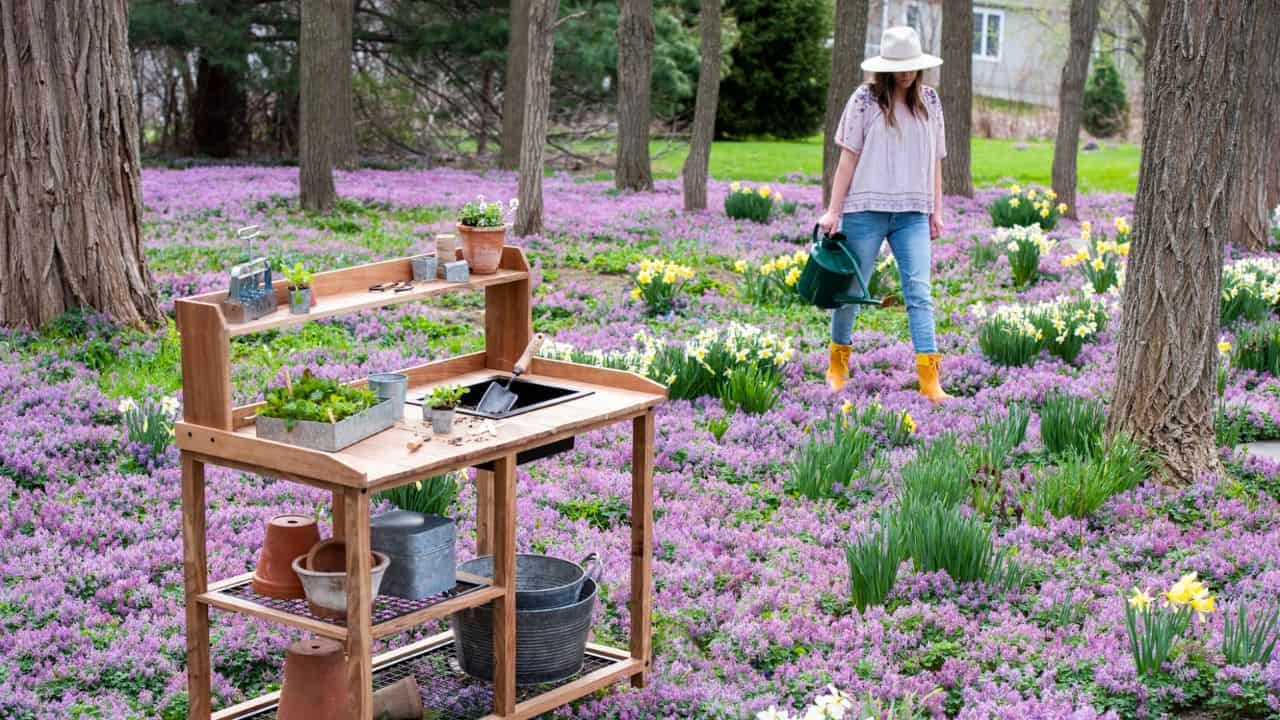
While scraps can easily be composted, those without gardens can struggle with waste.
In this article, pebble shows you how to save the bits of veg you’d normally throw away – and grow more veg from them!
Note, some of the vegetables can be grown indoors.

Why growing veg from ‘waste’ is great
Growing veg from waste helps maintain a relatively circular economy of your own produce.
Not only does it save money, but it also provides fresh and homegrown veggies without much hassle or plastic.
Depending on what you grow, some may not even need to be re-potted, meaning minimal mess and time wasted.
While there is a world of veg that can be propagated from household scraps, here are pebble’s favourite vegetables to grow from scraps.

Quick links to veggies
Less Waste More Taste: 5 Veg That Can Be Grown From Scraps

How to grow spring onions from scraps
Water will need changing every 2-3 days. Container should be placed by a sunny window.
In theory, you will never have to buy spring onions again!
1. Preparation
Cut the spring onions making sure that there is at least 1 inch of spring onion from the bulb.
2. Container
Fill a transparent container or glass with an inch of water. It ideally should be narrow enough for the spring onion to lean against without falling over. Place the spring onions in upright.
3. Growth
New shoots should develop in a week.

How to grow ginger from scraps
Both ginger’s leaves and shoots are edible, and can be used for seasoning
The ginger likes to remain moist, so mulch helps maintain the moisture.
1. Preparation
There are two methods either:
Cut the ginger into 1-1½ inch pieces and allow the areas to callous over 24-48 hours – this can be planted straight into soil (step 2).
Or: Place a whole ginger bulb in a bowl filled with water, changing the water every couple of days. After a week, there will be roots and shoots appearing from the ginger.
Remove the shoots and roots from the ginger gently, to ensure a healthy plant.
2. Planting
Plant roots down, stem up in a hole in the soil. Plant them 12 inches apart, watering well after planting.

3. Harvesting
The ginger plant can grow up to 4 feet tall, and takes 8-10 months to reach maturity – but roots can be harvested after 2 months.

How to grow carrots from scraps
The leaves of the carrots are edible and can be used as garnish.
While not taking up a lot of room, they do take up a lot of time.
Requires soil with plenty of compost and nutrients.
1. Preparation
Choosing a carrot top with a bit of green, cut the carrot top leaving ¼ inch of flesh.
2. Water
Place the carrot flat down in a container with a tiny bit of water. Place in a shady and relatively warm spot. Replace the water every couple of days.

3. Planting
Once there are little hairs and new green shoots, move the carrots to soil (best placed in a pot to acclimatise). To plant, make a hole in the soil, place the carrot and cover so that only the greens are showing.
4. Harvesting
You can keep trimming the greens once growing well, but the carrots themselves take 12-16 weeks.
To know how healthy your plant is, all that needs to be noted is how full and healthy the leaves are – they reflect what is happening underground. So, if the leaves are big, tall and strong, most likely the carrot is too, and ready to be harvested.
- Try this delicious recipe with your grown carrots: Balsamic Honey Roasted Carrots With A Yoghurt And Tahini Dressing Recipe
How to grow garlic from scraps
The greens of garlic can be used raw in salads, or cooked in a variety of dishes.
Try to buy garlic from a reputable farmer, rather than a supermarket.
1. Preparation
Carefully split the garlic into cloves. Fill containers (at least 20cm in diameter/depth) with multi-purpose compost.
2. Planting
Unlike others on this list, the garlic cloves go straight into the soil. Plant just below the surface (2.5 cm) with the point facing up. Note: they should be 10-15cm apart and not close to the edge of the container.

3. Harvesting
The garlic bulbs will be ready when the leaves have started to wither and turn yellow – this can take 8-9 months.
How to grow celery from scraps
Celery thrives in cool weather with rich and moist soil.
While in water, needs several hours of sunlight and the water to be changed every couple of days.
1. Preparation
Slice 2 inches from the root of the plant, and place in some shallow water (submerged by an inch).
2. Growth
After a few days, small leaves should emerge. After a week, there may be stalks and tiny roots. The cut stalks may deteriorate (this is normal).

3. Plant
When the new roots are about an inch long, plant the celery in potting soil. Make the hole deep enough so that it covers where the plant was cut, gently set the celery in the soil ensuring there are no air pockets below the root end.
4. Harvest
After 4 months, the plant will be ready to harvest, as the plant shall be big enough for use.

Read more. Do more…
Learn more about Urban Gardening and Permaculture to change how you garden for the better!
For another how-to, check out our article on how to grow indoors.
Don’t miss our other content in this Feeding Ourselves series. Subscribe to the weekly email.
Take it to the next level. Join our FREE Ripples community for virtual events, themed book club and 1000s of other people interested in these topics.